


How to Apply Propspeed
Application Instructions for Propspeed
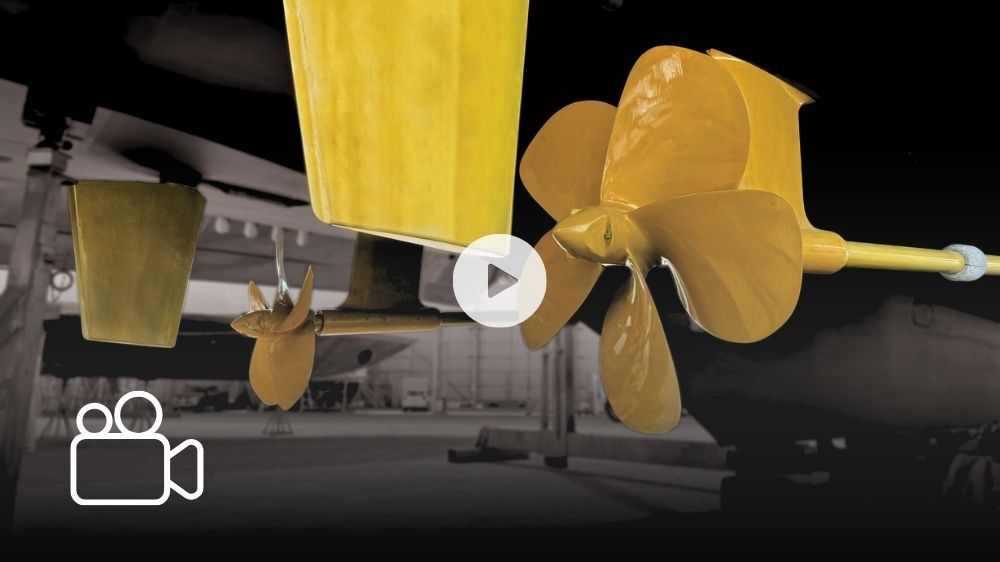
WATCH THIS VIDEO OR FOLLOW OUR STEP-BY-STEP GUIDE FOR APPLICATION:
Please note: In Europe, Propspeed can only be applied by a professional applicator. Find one here.
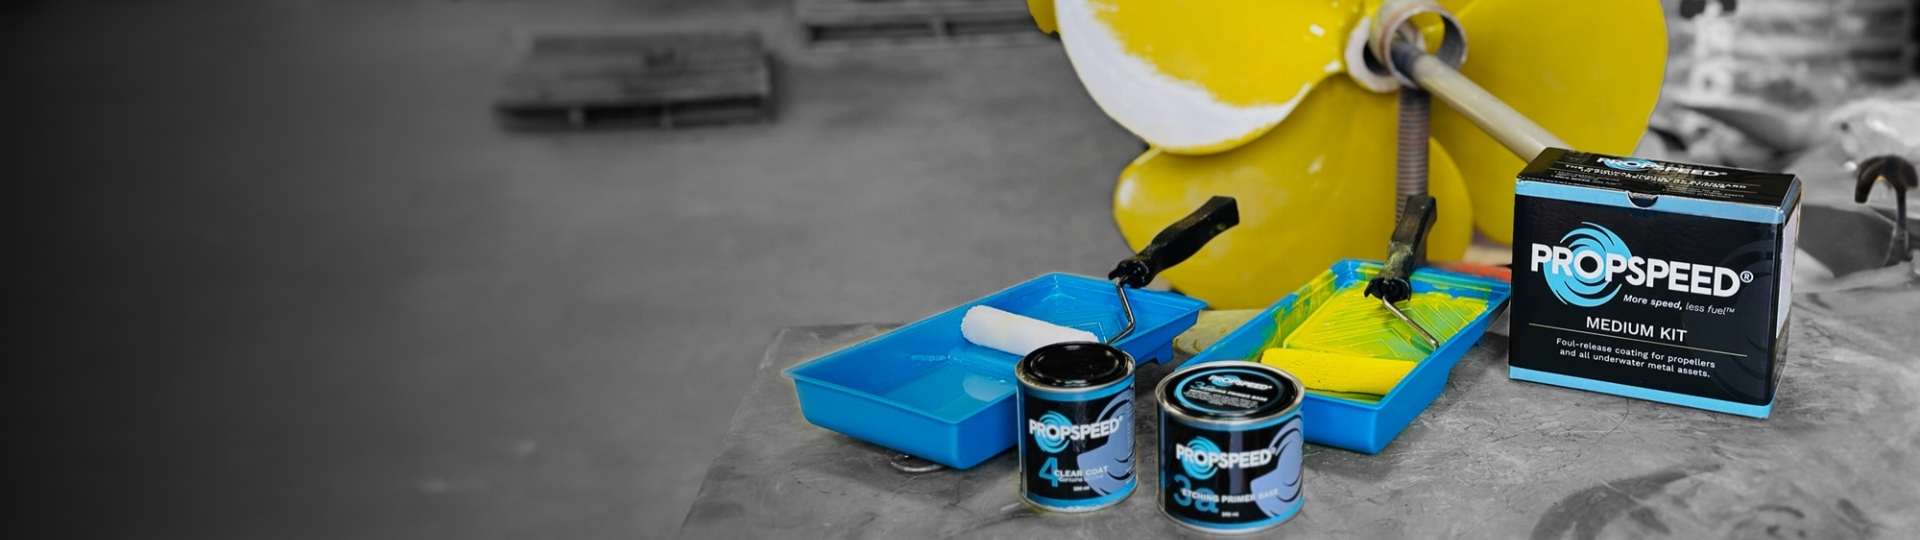
INTRODUCING 4" PROPSPEED APPLICATION KIT
Experience a faster and easier application process with the new, All-In-One Propspeed Application Kit! The kit also introduces a new application technique launched as a part of our Like A Pro approach. The new application technique using the 4" Propspeed Rollers achieves a more consistent finish than brushing and saves 35% of the time* in the application process.
* Based on a 33-inch, 5-bladed propeller.
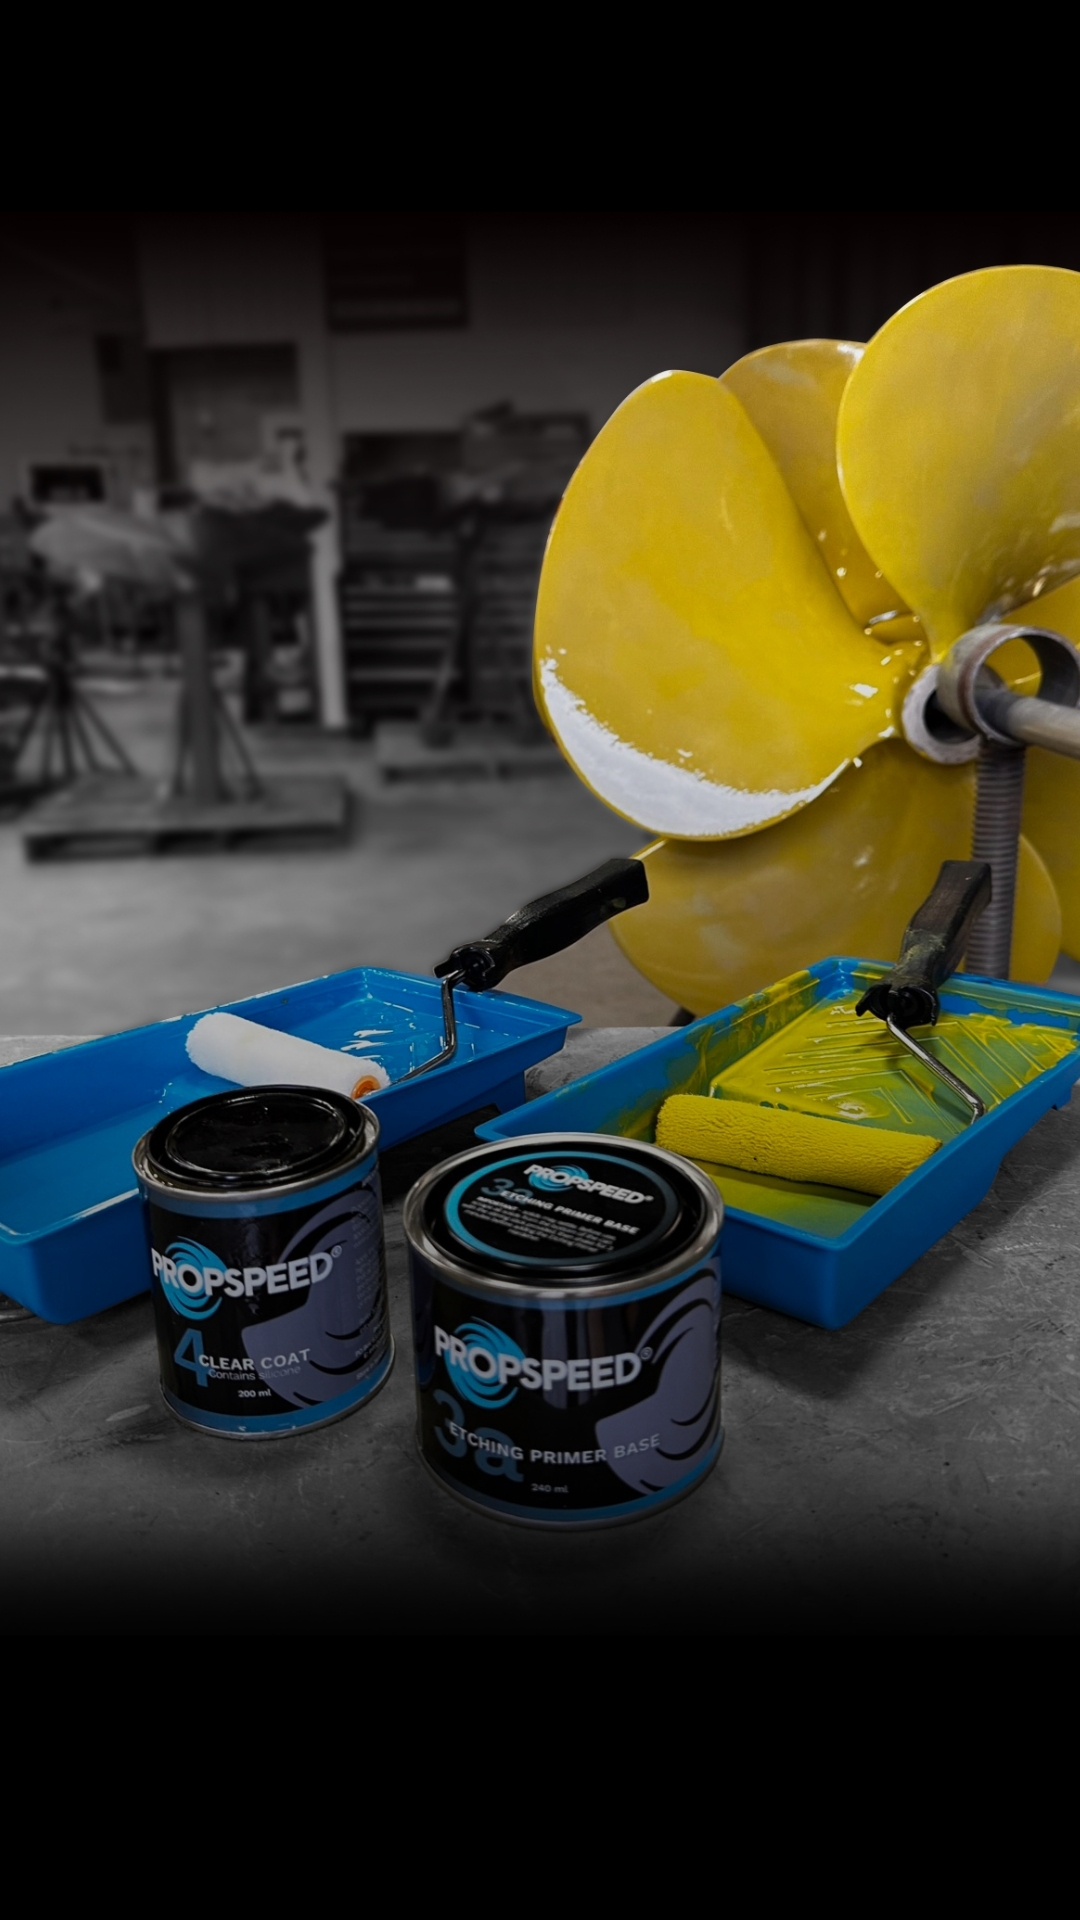
IN THE PROPSPEED KIT:

APPLICATION PROCESS
Get Started
Metal Preparation
Coating
Get Started
Planning Your Application
The process of applying Propspeed to your running gear isn’t difficult, but the process must be strictly adhered to in order to get a superior result. Failure to follow the instructions precisely will likely result in premature failure of the coating.
The application of Propspeed requires planning. Make sure you have installed and taped over all zincs, all application gear is on hand, and you thoroughly understand the process – then you’re ready to get started.
Get Started
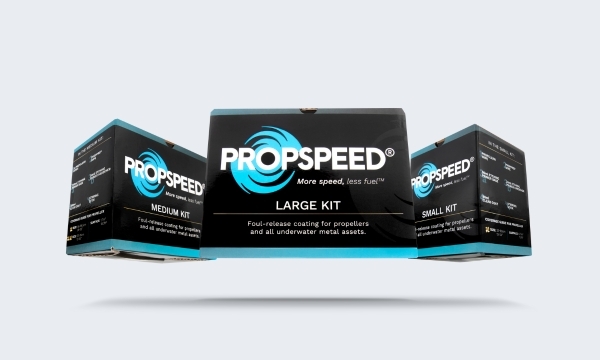
How much do I need?
The first step in planning your Propspeed application is deciding if you will get a professional applicator at your local yard to do the application, or if you will be doing it yourself. Note that, in Europe, Propspeed can only be applied by a professional. Once you have decided who will be doing your application you need to identify how much product you will need for the job.
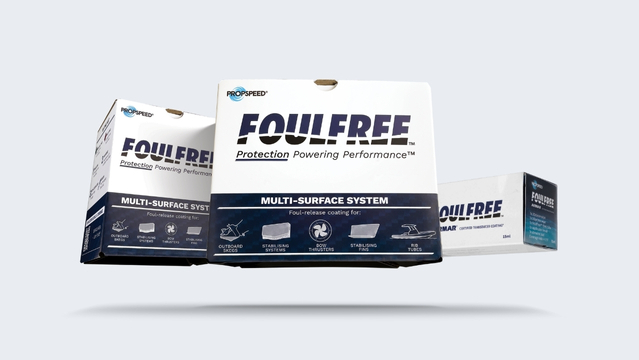
Estimate how much product you need to coat your underwater assets using the Propspeed Coverage Calculator™ app, which you can download to the home screen of your phone for easy access. It takes 30 seconds to input your boat details and then send yourself the results, it’s that simple. The calculator further includes an estimation for the amount of Stripspeed needed for surface preparation, Lightspeed for underwater lights and Foulfree for transducers.

The next thing to do is to make sure you have all the consumables and proper personal safety equipment you need to complete the application before you start.
Get Started
Consumables & PPE Checklist
|
|
|
Get Started
Environmental Conditions
You can’t control the weather, (if we could it would always be boating weather right?), but you can choose conditions that will ensure the best application outcome. Propspeed is best applied when temperatures are in the 16°C / 60°F – 32°C / 90°F range, humidity is below 85% and all application surfaces can remain dry for the duration of the application and curing process. Plan to do the application when conditions in your area are closest to these parameters.
Ambient temperatures influence the application of Propspeed and the set times of the metal Etching Primer and Clear Coat. We all know that there is a big difference between 60°–90°F, while it is not complicated, it is important to follow the correct re-coat window and drying time based on the environmental conditions you are operating in. Use the chart below to understand how environmental conditions influence the re-coat window and time your re-coats accordingly.
DRY-TO-RECOAT TIMES
The following table is provided as a guide for Propspeed applicators to consider when applying the Metal Etching Base and the Clear Coat.
| Temperatures | Apply 1st coat of Metal Etching Primer and wait: | Apply 2nd coat of Metal Etching Primer and wait: | Apply the Clear Coat and wait to dry before the launch for: |
| 39°F & below 4°C & below | We do not recommend the application of Propspeed in this temperature range. | We do not recommend the application of Propspeed in this temperature range. | We do not recommend the application of Propspeed in this temperature range. |
| 41 - 49°F 5 - 9°C | 15 - 20 minutes Tip: Heat the surface to reduce the timing. | 15 - 20 minutes Tip: Heat the surface to reduce the timing. | 36 - 48 hours |
| 50 - 59°F 10 - 15°C | 10 - 12 minutes | 10 - 12 minutes | 24 - 36 hours |
| 60 - 69°F 16 - 20°C | 8 - 10 minutes | 8 - 10 minutes | 18 - 24 hours |
| 70 - 79°F 21 - 26°C | 5 - 7 minutes | 5 - 7 minutes | 12 hours |
| 80 - 89°F 27 - 31°C | 3 -5 minutes | 3 -5 minutes | 8 hours |
| 90 - 94°F 32 - 34°C | 2 - 4 minutes | 2 - 4 minutes | 8 hours |
| 95°F & above 35°C & above | We do not recommend the application of Propspeed in this temperature range. | We do not recommend the application of Propspeed in this temperature range. | We do not recommend the application of Propspeed in this temperature range. |
You shouldn’t rush a Propspeed job, especially when you are working in open air. If the weather does not cooperate, or if it is too cold, too hot, too humid or too windy to start a job, we recommend you wait until conditions improve. The results will be worth the wait.
Get Started
Overview of the process

Metal Preparation
Reapplication
If your underwater metals are already coated with Propspeed, or if you have other coatings applied, you will need to remove all other coatings before starting the new application. The easiest, fastest and recommended way to do this is with Stripspeed, a solvent-based paint stripper that has been specifically developed to remove foul-release coatings in less than 30 minutes. The thick consistency hangs on vertical and overhead surfaces and is easy to use. Just crack the bottle open to let some air in, shake well for 90 seconds until the consistency is thick and start using. Read the detailed application instructions on how to use Stripspeed here.
APPLICATION TIP:
- As the last resort, old coatings can be removed using a dual-action or air-driven sander
- You must wear a dust sanding mask when removing old Propspeed - inhaling any residue could be harmful
Metal Preparation
80-Grit Profile
Once you have successfully removed the previous coating, sand the metal to achieve an 80-grit profile to prepare the surface for a mechanical bond with the first coat of Etching Primer. This applies to all first-time Propspeed applications as well and can be done using a dual-action sander, or by hand using wet and dry 80-grit sandpaper.
With any surface coating, proper surface preparation is essential.
APPLICATION TIP:
- High-pressure clean to remove marine fouling from the surface, then allow sufficient time to dry
- Old coatings need to be removed completely before a fresh Propspeed coating can be applied
- Ensure the surface is thoroughly dry before sanding, and you can wet sand difficult areas
- Plan ahead and mix any settled solids at the bottom of the Etching Primer Base can. This usually takes no more than 2 or 3 minutes
Metal Preparation
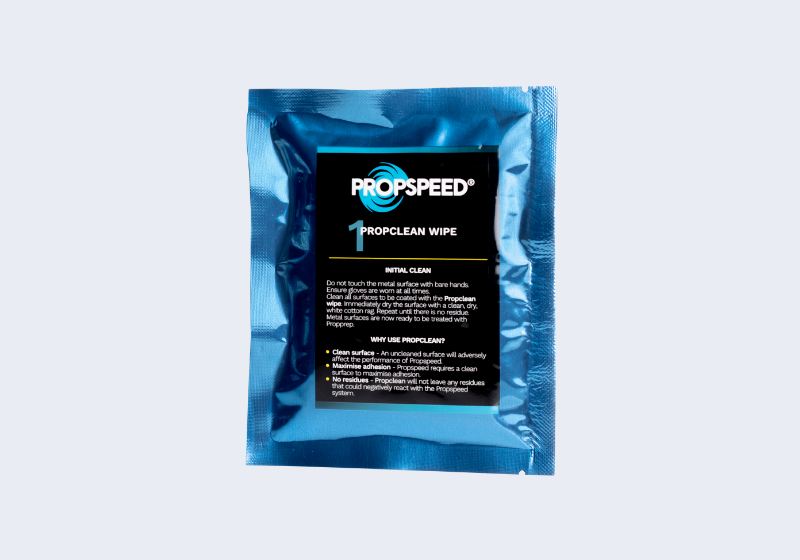
Initial Clean
Once the surface has been sanded and had the old Propspeed mechanically removed, it’s time to clean the surface with the Propclean wipe provided.
APPLICATION TIP:
- All surfaces must be wiped down with Propclean
- Ensure there is no residue remaining
Metal Preparation
Conditioning
Apply Propprep solution liberally using the red Propprep wipe or solution. Immediately wipe the surface with a clean white cotton dry rag to ensure no residue is left.
Propprep is acidic. Extra care should be taken when wiping the surface. The Propprep solution does not contain corrosive inhibitors, so the treated surface should be coated and primed with Propspeed as soon as possible.
You are now ready to start painting!
APPLICATION TIP:
- Use Propprep liberally
- All surfaces must be wiped down
Coating
Critical Information
Be prepared! Once you start this stage of the application process, you need to finish it without breaks. Ensure all product is mixed and ready to go, and all the tools you’ll need are easy to access. You may need to work in sections, applying both Etching Primer Coats and the Clear Coat to one area before moving on to the next.
| PRODUCT FLASH TIME | OPTIMAL TEMPERATURE RANGE | CURING TIME |
| 3-5 MIN @ 27°C / 80°F | 16°C / 60°F - 32°C / 90°F | 8 HOURS @ 27°C / 80°F |
Coating
Important: Mix Settled Solids
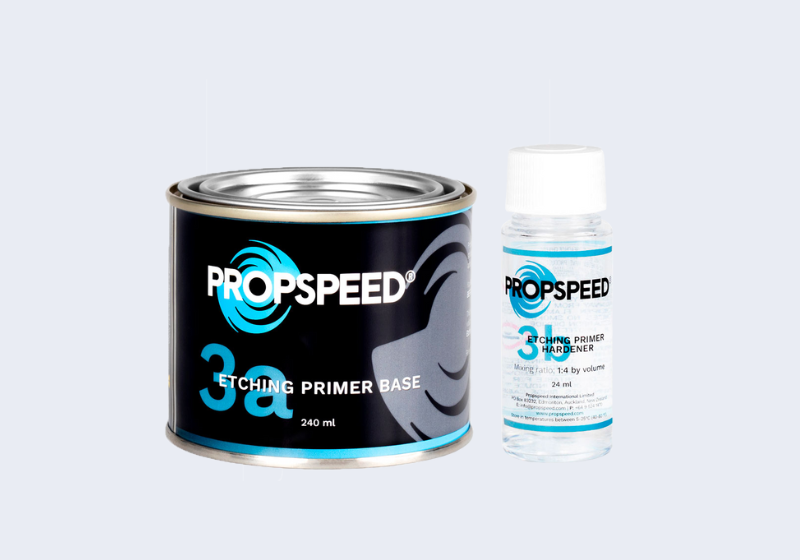
The yellow pigment at the bottom of the Etching Primer Base (3a) must be thoroughly mixed before adding the Etching Primer Hardener (3b). This usually takes no more than 2 or 3 minutes.
Note: Failure to thoroughly mix the Etching Primer Base, as described above, may lead to premature hardening, inconsistencies and short life expectancy of the final coating system.
Coating
Etching Primer 3a&b - Adding Hardener
Once there are no solids left in the can, add the Etching Primer Hardener (3b) to the can and mix again.
Any product not being used immediately can be resealed in the can and left in the shade for up to 6 hours.
Note: The cans are “short filled”, and the ratio is exact in the kit. It is best to mix within the can itself, as you will pour only a portion of the product into the tray as needed, ensuring to close the lid when the can is not in use, as solvents flash quickly.
Coating
Etching Primer - Application
For best results and to achieve the time constraints, use one of the 4" Propspeed Rollers from the Propspeed Application Kit to apply the Etching Primer. A foam roller or brush can be used as a secondary option. The Propspeed system requires 2 generous coats of Etching Primer. To access all parts of the propeller and shaft, we recommend turning the prop using a brush, wooden stick, or gloved hands. Once you have applied the first coat of Etching Primer, wait approximately 3 to 5 minutes before applying the next coat. The timing of each coat is essential to enable the required chemical bond between coats.
To test if it is ready, use the dry-to-touch test method: touch the wet Etching Primer with your gloved finger – if it leaves a small print on the primed surface but no Etching Primer transfers to your fingertip, then you can begin applying the next coat. The wait between coats of Etching Primer is very important and must be adhered to.
The 3-5 minute recoat timing is based on 27°C, 80°F temperatures; cooler temperatures will slow down the recoat time between the two coats of primer, as will warmer temperatures and windy conditions speed up the recoat time between the two.
APPLICATION TIP:
- Use the Propspeed Application kit to save time and achieve a consistent finish
- Check weather conditions beforehand, as ambient temperatures influence the application process
- Metals retain the temperature from the night before, so consider the surface temperature before applying
- Consider using a thermometer and surface laser temperature reader to make sure conditions are ideal
Coating
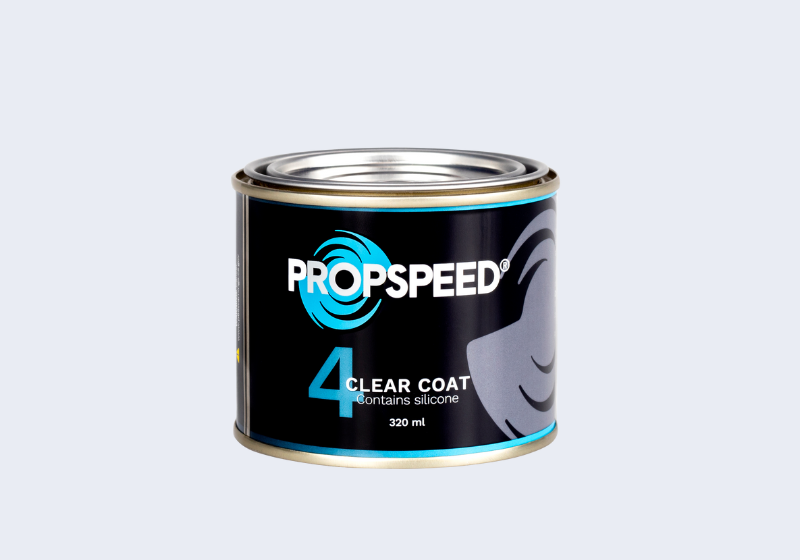
Clear Coat
You need to proceed with the Clear Coat as soon as the last coat of Etching Primer is dry to the touch. Allowing the Etching Primer to dry completely may result in a failure in adhesion between the Etching Primer coat and the Clear Coat.
Ensure the Clear Coat is well mixed and apply using the second Propspeed roller from the Propspeed Application kit (no foam rollers) or a brush as a secondary option. Apply a liberal coat to where it will not drip or “hang”. You have roughly 10 minutes to work with the Clear Coat before it starts to set on the surface you have applied to. If you feel you need to add more Clear Coat or spread areas out, do so within the fluid time of the coating before it skins over to dry. Once dry, do not add any more Clear Coat as it will not stick to itself.
Make sure there are no heavy runs or sags in the Clear Coat. You’ll have anywhere from 5 to 10 minutes to touch these up.
Make sure the surface is completely coated with Clear Coat. Any missed areas will appear dull in lustre.

When you have finished coating the entire propeller with Clear Coat, give the propeller one more visual inspection just to make sure there are no areas that you might have missed and to check again that there are no runs or sags in the Clear Coat.
Any drips that harden on the edges of the propeller blades can be carefully cut off the following day with a razor blade.
Propspeed requires a minimum of 8 hours to dry before launching. In cold conditions, 10-16°C, 50-60°F, we recommend at least 24 hours of drying before launching. Unlike traditional bottom paints, Propspeed’s effectiveness is not adversely affected by sitting out of the water for extended periods of time in warm or cold climates.
When cleaning your hull, only use a soft cloth on the Propspeed. If the wiping cloth collects shells remove them before proceeding with the wipe down so as not to damage the Propspeed. Avoid any abrasive cleaning materials or direct high-pressure water.
APPLICATION TIP:
- Do not use a foam roller
- Apply much like conventional varnish
- Touch-up runs or sags within 5 to 10 minutes
- Use the 4" Propspeed Application kit for best results
TRADITIONAL TECHNIQUE
The traditional application technique involves using a brush to apply the Clear Coat.
FIND YOUR LOCAL APPLICATOR
Visit our WHERE TO BUY map to find a certified applicator or distributor near you.
WANT TO BECOME A PROFESSIONAL APPLICATOR?
Fill out your details below, and a sales rep in your region will be in touch with you shortly.

Have any questions?
Reach out to the team.
RESOURCES
Propspeed Propprep SDS - USA Propspeed Propclean SDS - USA Propspeed Clear Coat SDS - USA Propspeed Etching Primer Hardener SDS - USA Propspeed Etching Primer Base SDS - USA Propspeed Etching Primer Hardener SDS - APAC Propspeed Propclean SDS - APAC Propspeed Clear Coat SDS - APAC Propspeed Propprep SDS - APAC Propspeed Etching Primer Base SDS - APAC Propspeed Propprep SDS - EU REACH Propspeed Propclean SDS - EU REACH Propspeed Etching Primer Base SDS - EU REACH Propspeed Etching Primer Hardener SDS - EU REACH Propspeed Clear Coat SDS - EU REACH